Antoine’s Knighting Scroll
By Muirenn inghean Uí Cléirigh
Wordsmith: Eoghan Ua Cléirigh
 |
“Antoine Tue Avec Des Mots Warrior poet, soldier firm. With mind keen and strength of arm have you shown your measure. With this you have not become a Peer, but shown what you have always been. With this knowledge do we, King Nicolai Rabenis Von Tachov and Queen Ana de la Sara, wish to honor you and by the authority granted us by right of arms grant you letters patent naming you a Knight of the society. Set by our hand and seal this 25th day of May, AS 60.”
Materials
-homemade parchment from Soay sheep
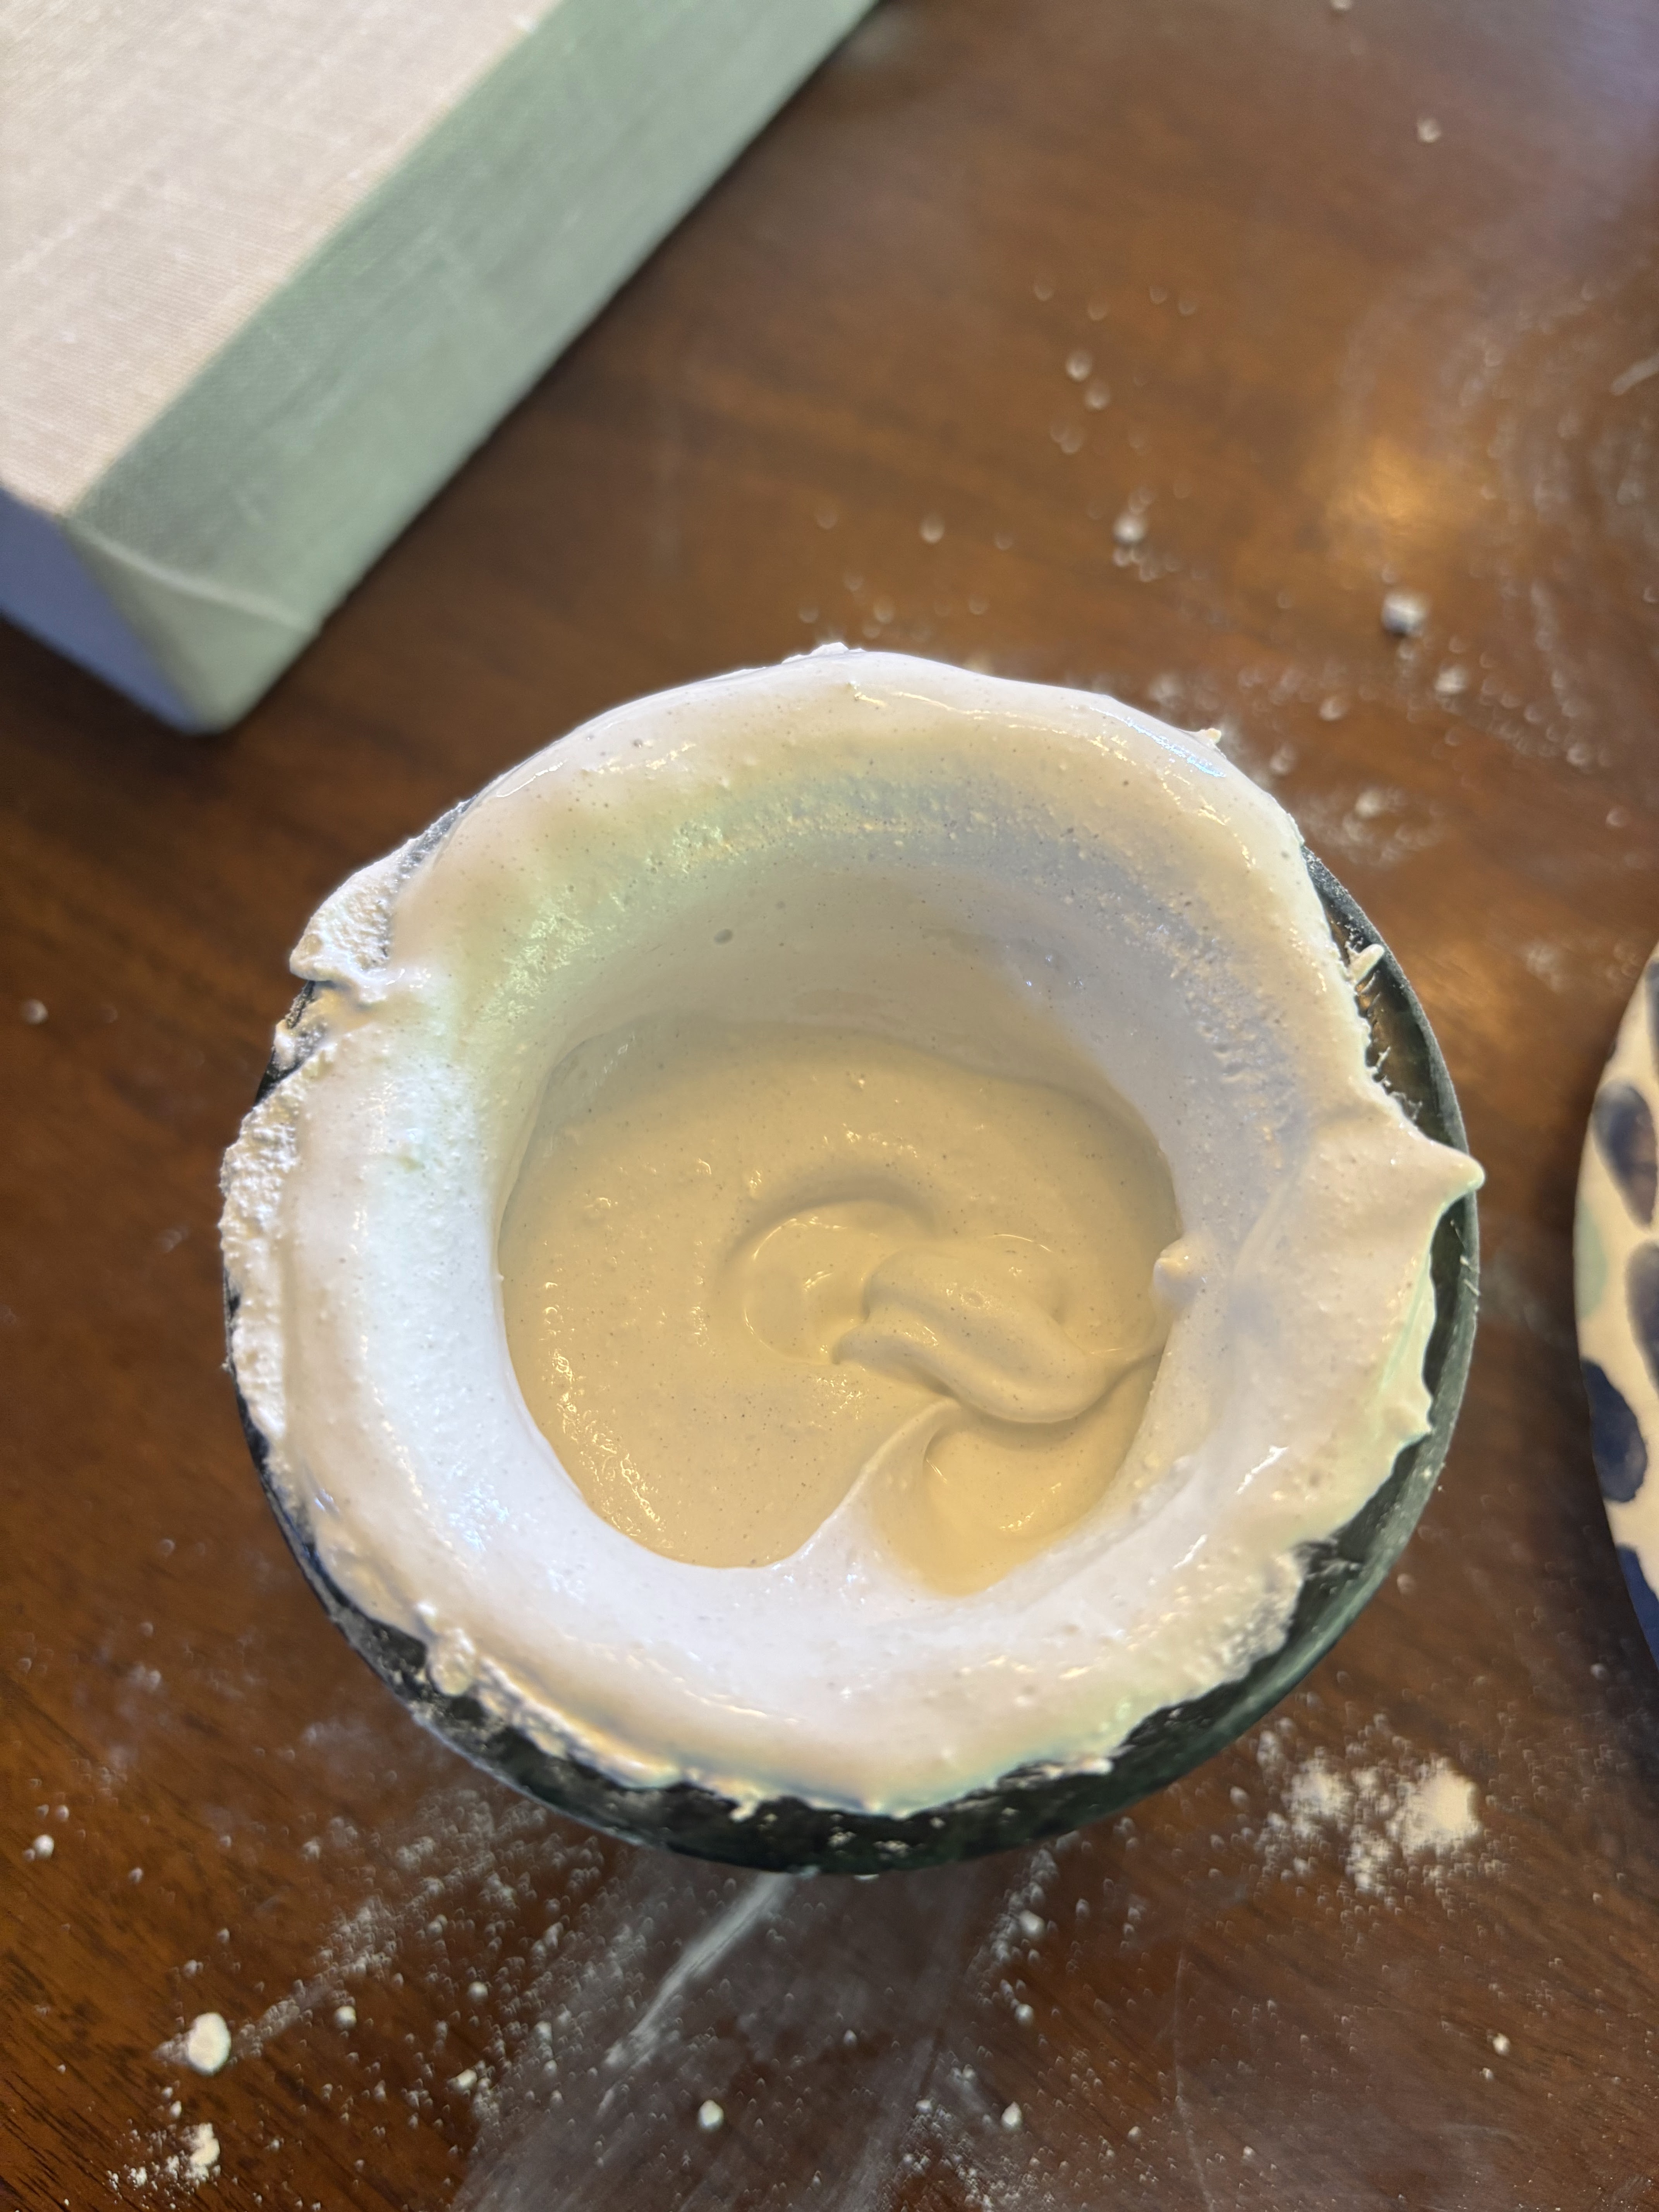
-homemade parchment size
-Pigments: lapis, brazil wood, Verona green, Pazzouli earth, lime white, and bone black ground up with gum arabic. Modern ink and silver.
Process (photos below):
The story of this scroll begins about 5 years ago when I raised Soay sheep. They are a small, heritage breed, originally from the islands off the coast of Scotland. Once butchered, I salted and dried the hide, knowing I wanted to make parchment someday. Through the winter, I studied and discussed the process with David Bianco as well as reading up on the bits of period writings on the process by Theopholis and Cennini. I soaked off the salt and began the liming process, soaking for many weeks in a hydrated lime and water solution until the remaining wool follicles could be rubbed off without much effort. Then there was much scraping on a pole donated by John Wayland, a longer soak, then scraping again. Ideally, I would have used a lunella blade for this, but a large, dull knife with slight curve sufficed. Before stretching, I built a frame with reclaimed lumber and pegs I cut and tapered. I punctured small holes about 3” apart and an inch from the edge and threaded cotton cord. Between each hole, I pulled a bit of the cord over a corresponding hole drilled in the frame and pushed it through with a peg, tensioning it and holding it firmly in place. Once it was anchored around I tensioned a second time. With the hide was taut, I scraped it one last time to get a majority of the moisture out, the gave it a final dusting with the lime. This dried over the winter, though our kittens were persistent in pulling the pegs out and batting them to hidden places. Also during this time I brewed up a parchment size with some of the trimmed pieces from the edges. With this I added a little whiting to create a gesso and lightly applied in a crosshatch pattern as prescribed by Cennini. On March 26th, I cut it from the frame and trimmed the edges Through this process I kept thinking how wonderful it would be if our friend, Antoine, would receive his knighting offer, and this could be used for his scroll.
Then on April 26th, the long awaited offer came and soon after I was honored and elated to be asked to make the scroll! After researching manuscripts that the Normans might have been familiar with, I chose the “Sacramentaire de Robert de Jumiéges” (11th C.) from France to be inspired by, particularly folio 159v. I testing 22 different combinations of period pigments, I chose to lightly mull lapis lazuli with brazil wood, a little vinegar and my gum arabic-honey mixture to create the signature purple through out. I created the bone black by charcoalizing bones in the camp fire before grinding and mulling. Although I didn’t have any pigments from France, the Pozzuoli red and Verona green are from Italy where the Normans conquered. Finally, the white was made with a period lime solutions, and the ink and silver are modern.
Symbolism in this award includes many fleur-de-lis’ and the colors purple, silver, and black throughout. In the four corners are symbols from influential people. The top left is a bear holding a red rose and war stick from Antoine’s Mom (her quote at the end), the husky of honor from Elizabeth Chandler in the top right, in the lower left is the Daos badge, and in the lower right, the stag of Antoine’s knight, Sir Sverre Tjorkillson.
From Antoine’s Mom:
The Grizzly bear standing and the war club. Put the club in the bears fist, and you have the symbol for Anton. If you put a lions mane around his heart that would go even further. Also put a red rose in the other fist. My son has the courage and power of the Grizzly who by the way, once mated are devoted for life and should anyone or anything hurt that mate, they are tracked down and destroyed. The grizzly has long been the alpha predator that has inspired many stories and songs. The War Club, in both Cherokee and Lakota tradition is not just a weapon but a symbol of leadership and strength, the decoration is always indicative of the man or woman who wields it and their family history and affiliations like their spirit animal and such. My spirit guide is the red tailed Hawk, my Mother’s was the Elk. The lions mane gives the gift of the lions heart that he wears with pride to those who are under his protection. The Red Rose is 2 things. It is the symbol of the Cherokee Nation and for the true and abiding love he gives to those he encounters who earn his trust. These are the things that would most describe my son in picture form.